Saturday 29 October 2011

Just a wee extra....

Wasn't going to post this as I wanted it to be a surprise for my friend when she opened the bag, but hey ho!

Thought of the idea when I looked on Etsy and lots of changing bags come with a changing mat and because I had about 1/3m left of the oilcloth, which was the more expensive of the fabrics, thought I'd just whip one up! Searched online and found this great tutorial from Prudent Baby - here!

I used towelling on the reverse and quilted this before construction to make it padded...

Then I attached to the PVC cotton, stitched together, overstitched and divided into thirds for folding...

Then I added some bias binding for the ribbon and here it is all tied up like a beautiful present...

Hmmm, maybe she needs some bibs?!!

Friday 28 October 2011

Final day of changing bag project.....

Well, it's been a project full of blood, sweat and tears, literally!

Blood: Pricked my fingers, arms and even my face on the multitude of pins sticking out from the edge of the bag! Ouch!

Sweat: It's hot sitting at that table, working hard, especially when the heating comes on! And the straighteners only added to the heat!

Tears: I have never had the thread break so many times in one project - ever! It was ridiculous! By the 'finishing touches', I was ready to give up and resign this to an incomplete pile - but it would be alone on that pile, as I've never not finished anything, no matter how frustrating! And I think I shed a tear of joy when I signed the label!

So, we got there in the end and it is indeed finished! Here are some finished shots

~The inside...


~ The top!


~ Was trying to pose with it but didn't work out so well!


I do love this bag and may have to make more in the future!

Total hours: About 8, I think
Cost: £58 plus labour (of love!)

Thursday 27 October 2011

Day 2 of the changing bag project...

Well it was all such fun and going swimmingly! Finished the second outside part and got to the stage where I needed to join the 2 sides to make the whole of the outside. Looking good!

Then I had to make the inside pockets with the elastic bits.

Another top tip here - instead of constantly jumping up to iron seams, use your Hair Straighteners! Work a treat and are totally portable to the sewing table! Was very excited to get the insides done and sew together, including T-junction seams at the bottom to make the box shape, by the time I went out for lunch!

So I returned from lunch thinking I'd nearly get it done.... but I realised I didn't like the pointy bottom corners on the outside bag part, which you can see in the picture below, so I decided to 'quickly' change them to T-junctions too. Easier said than done, because that meant sewing through a squillion layers of fabric and oilcloth, which my machine was incredibly reluctant to do, so kept breaking the thread and the needle once too! Think I must have re-threaded that needle about 100 times this afternoon!

Got there in the end but alas, it was now the ZIP stage! The problem with me, when I sew, is that I need to get my head around the practicalities of the process first, so I completely understand what I'm about to do and why! This was not the case with the zip part, so I just went with the flow and hey, it worked!

So I put all the pieces together, used a million pins and it's ready to be sewn together and finished completely tomorrow! It's looking great though and I'm really pleased with how well it's going, despite hours of frustration today! (Total time so far about 5 hours.)

Wednesday 26 October 2011

Day 1 of the nappy bag project....

So I thought all I'd do today would be cut the pieces, but that bit was easy! I'm trying to be very organised with sewing these days, so even labelled the pieces!

The first instruction was to sew the seam on the PVC oilcoth - now, I've done this before on a machine and failed miserably so ended up hand sewing! I was dreading having to so this on such a large scale, so came across this AMAZING TIP online - sprinkle the PVC/oilcoth with TALC! It works! Am so chuffed because it's so quick and easy, if a little messy!

After about 2 or 3 hours, can't remember cos I was 'In the ZONE!'... I got to the stage where 1 whole side of the bag was nearly complete - I just had to sew on the handles.

And here it is, hanging on the door, ready for me to do the opposite side and the lining tomorrow! Going well and it's looking FAB, even if I do say so myself!

Tuesday 25 October 2011

Getting there....

Well, I've bought the pattern and the fabrics....

The pattern looks flippin' complicated actually but I'm sure, as always, it will start to make sense as I get into it! I reckon it's gonna take me 6-8 hours to make.

The fabrics look fab together. I bought an oilcloth for the outside pocket so am really really hoping that works well and I can manage to sew it, otherwise I'll be going back for the fabric version! Costs for materials and patterns - £58.

So I'm planning on starting in the next couple of days - at least cutting it out tomorrow.... shame the sewing table isn't quite ready yet! oops! Better get tidying!

Wednesday 19 October 2011

A quick afternoon project - thanks Grosgrain!

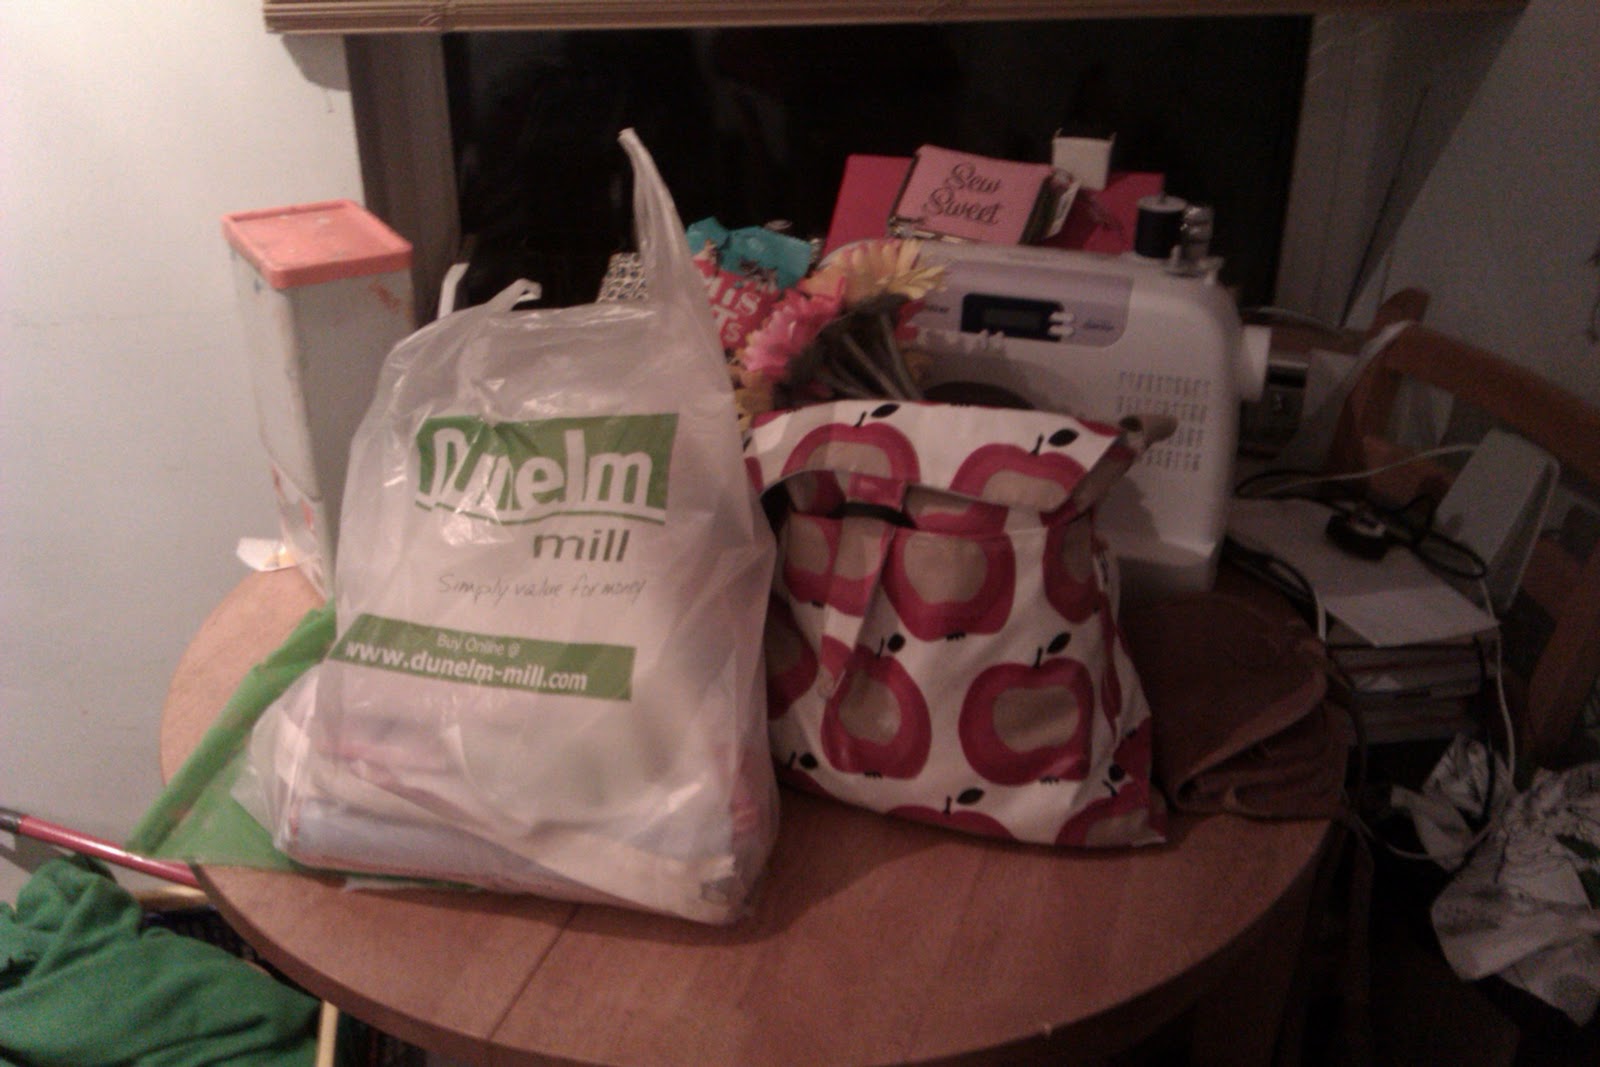
So I had bought this lovely fabric at, of all places... Ikea! And wanted to make a skirt from it. Had saved this tutorial from Grosgrain's blog here - apparently it's a 20 minute skirt!

I got quite excited when I made the outer skirt bit - although I made one simple mistake which I quickly rectified (will I ever make anything without a mistake? Not today!). Clock was up to 25 minutes.

Then I started the underskirt. For some reason, when I read her instructions at the bottom, I thought she meant make a whole new, elasticated-waist skirt, but NO! That wouldn't work! Doh!

So I kind of attached the underneath to stretched out overskirt and it seemed to have worked.

Tried it on and it was GINORMOUS!! Looked pig ugly! Needed a good 3 inches taking in!

So I sewed a new seam for the side and chopped off the excess before even checking it fit!

Well, when I did, the waist fit fine but I'd cut it so straight it was a TADGE snug on the hips! More of a very slim pencil skirt!!

I don't care! By now I was up to 1.5 hours and bored of the thing but really not wanting to waste the lovely fabric! So this is the final result!
'Scuse the hair!

Even with tights and boots it might be ok - I wanted a skirt I could wear through the autumn! I can sit, bend and almost spread my legs to leap up the stairs - for want of a better visual!
 ~
And once I lose all those inches off my hips at bootcamp I should look far better!

Wednesday 12 October 2011

Finally! Feeling inspired for a new project...

So I bumped into a friend in town today and she wants to 'commision' a bag from me, more specifically a changing bag for her 9 week old little girl, Eleanor.

This is very exciting (a) because I haven't done a bag in ages and really enjoy them and (b) doing something for someone else is always exciting!

So, in my usual fashion, I have spent the last hour or so scouring the web for free patterns and designs, as well as fabric designs. Then it's up to said friend to decide on design, fabric (whether all cotton or some waterproof stuff in there) and what pockets she wants! Am quite excited but I know it's going to be a big project - would love to get started in half term in 2 weeks time!

Anyway, here are some designs..... Click on the bags for more info!


This one below is really clever - it's called an On Bag. There are instructions on the website as it can be tied and used a number of ways - plus she's provided a free pattern! Click on the bag!

 Instructions here - click!


From Etsy, I think

Changing mat and bag too by Amy Butler


Etsy, again. You buy the pattern

Then there's the fabrics. Here are some waterproof ones which may possibly work on the inside, including some I have at home already...


Beige!

Lime green!

All of these are on ebay!


These are some actual fabrics, cotton-like ones, I have already. Dunhelm Mill and Ikea are good for fabrics for the outer. These would also work as the lining if you didn't want a waterproof lining.


So that's the choices! What do I do? How do I start? What does my friend desire?!!

Related Posts Plugin for WordPress, Blogger...